Authentication and security
ara-server ships with a default configuration that emphasizes simplicity to let users get started quickly.
By default:
- A random SECRET_KEY will be generated once if none are supplied
- No users are created
- API authentication and permissions are not enabled
- ALLOWED_HOSTS and CORS_ORIGIN_WHITELIST are configured for use on localhost
These default settings can be configured according to the requirements of your deployments.
Setting a custom secret key
By default, ara-server randomly generates a token for the ARA_SECRET_KEY setting if none have been supplied by the user. This value is persisted in the server configuration file in order to prevent the key from changing on every instanciation of the server.
The default location for the server configuration file is
~/.ara/server/settings.yaml.
You can provide a custom secret key by supplying the ARA_SECRET_KEY
environment variable or by specifying the SECRET_KEY setting in your server
configuration file.
User management
ara-server leverages Django’s user management but doesn’t create any user by default.
Note
Creating users does not enable authentication on the API. In order to make authentication required for using the API, see Enabling authentication for read or write access.
In order to create users, you’ll need to create a superuser account before running the API server:
$ ara-manage createsuperuser --username=joe --email=joe@example.com
Password:
Password (again):
Superuser created successfully.
Tip
If you ever need to reset the password of a superuser account, this can be done with the “changepassword” command:
$ ara-manage changepassword joe
Changing password for user 'joe'
Password:
Password (again):
Password changed successfully for user 'joe'
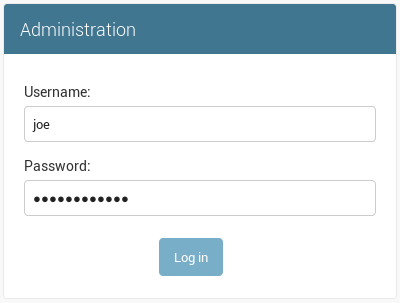
Once the superuser has been created, make sure the API server is started and then login to the Django web administrative interface using the credentials you just set up.
By default, you can start the API server with ara-manage runserver and
access the admin interface at http://127.0.0.1:8000/admin/.
Log in to the admin interface:
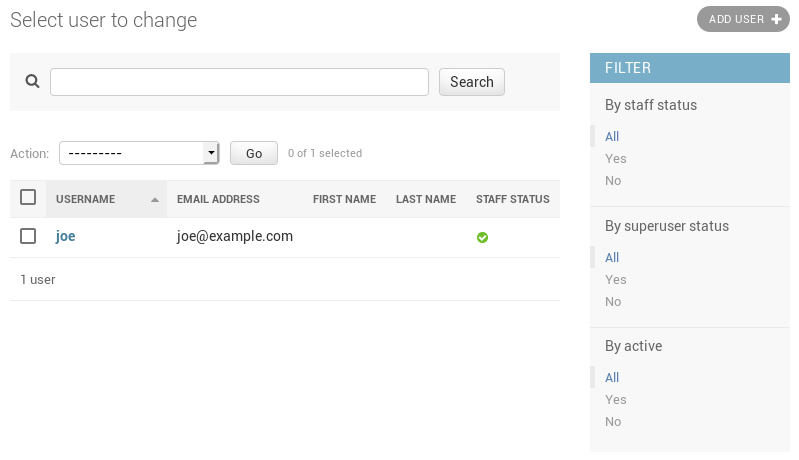
Access the authentication and authorization configuration:

And from here, you can manage existing users or create new ones:
Enabling authentication for read or write access
Once you have created your users, you can enable authentication against the API for read (ex: GET) and write (ex: DELETE, POST, PATCH) requests.
This is done with the two following configuration options:
- ARA_READ_LOGIN_REQUIRED for read access
- ARA_WRITE_LOGIN_REQUIRED for write access
These settings are global and are effective for all API endpoints.
Managing hosts allowed to serve the API
By default, ARA_ALLOWED_HOSTS authorizes localhost, ::1 and
127.0.0.1 to serve requests for the API server.
In order to host an instance of ara-server on another domain, the domain must be part of this list or the application server will deny any requests sent to it.
Managing CORS (cross-origin resource sharing)
The ARA_CORS_ORIGIN_WHITELIST default is designed to allow a local development instance of an ara-web dashboard to communicate with a local development instance of ara-server.
The whitelist must contain the domain names where you plan on hosting instances of ara-web.